How to Design PCB Remote Control Antennas
Designing a PCB Remote Control Antenna
When it comes to designing a remote control system, one of the most important components is the antenna. The antenna plays a critical role in ensuring reliable communication between the transmitter and receiver. In this guide, we will show you how to design a PCB remote control antenna that will deliver excellent performance and range.
Step 1: Choose the Antenna Type
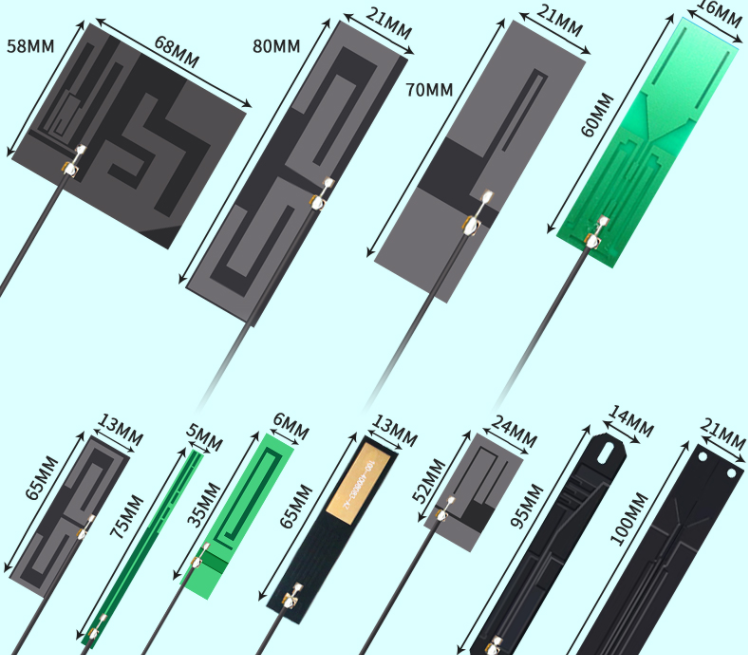
The first step in designing a PCB remote control antenna is to choose the type of antenna you want to use. There are several types of antennas to choose from, each with its unique properties, including:
- Wire antennas: These are the simplest type of antenna, consisting of a single wire. They are easy to construct and are a good option when space and weight are limited.
- Patch antennas: These antennas consist of a metallic patch on a PCB substrate. They are directional and offer excellent performance in a specific direction.
- Helical antennas: Helical antennas are three-dimensional antennas that come in both single and multi-turn configurations. They have good gain and are immune to interference.
- Yagi antennas: Yagi antennas are directional antennas consisting of multiple wire elements. They also have high gain and are excellent for long-range communication.
Step 2: Determine the Antenna Parameters
Before you start designing your antenna, it is crucial to determine the parameters that will influence its performance. These parameters include:
- Frequency: This is the carrier frequency of your remote control system. It determines the antenna's resonant frequency and the size of the antenna.
- Impedance: This is the input impedance of your remote control system. It affects the matching between your transmitter and antenna.
- Gain: This is the measure of the antenna's ability to focus signals in a specific direction. It is essential for long-range communication.
- Radiation pattern: This shows the distribution of the antenna's energy in space. It determines the directionality and coverage area of your antenna.
- Polarization: This is the orientation of the antenna's electric field. It affects the interference level and the choice of the receiving antenna.
Step 3: Design the Antenna Layout
Once you have determined the parameters of your antenna, the next step is to design the antenna layout. The antenna layout determines the physical shape and size of the antenna. Here are the steps to follow:
- Compute the length of the antenna element based on the resonant frequency.
- Design the matching network to ensure maximum power transfer from the transmitter to the antenna.
- Design the radiation pattern by adjusting the shape and size of the antenna element.
- Design the feeding network to ensure maximum efficiency and gain.
Step 4: Fabricate and Test the Antenna
After you have designed the antenna layout, the next step is to fabricate the antenna and test it. Here are the steps to follow:
- Draw the antenna layout using a PCB design tool.
- Send the design files to a PCB manufacturer for fabrication.
- Solder the antenna to the remote control PCB.
- Test the antenna using an RF signal generator and spectrum analyzer to verify its performance.
Conclusion
Designing a PCB remote control antenna requires careful consideration of the antenna type, parameters, and layout. By following the steps outlined in this guide, you can design an antenna that delivers excellent performance and range for your remote control system.
